My husband and I dressed up as bakers for Halloween since I have a bun in the oven. We dressed our daughter up as a loaf of Wonder bread because she is our “bun out of the oven”. As a result, we were the Wonder Bread Family. The Wonder bread costume was really easy to make with iron on transfer paper!
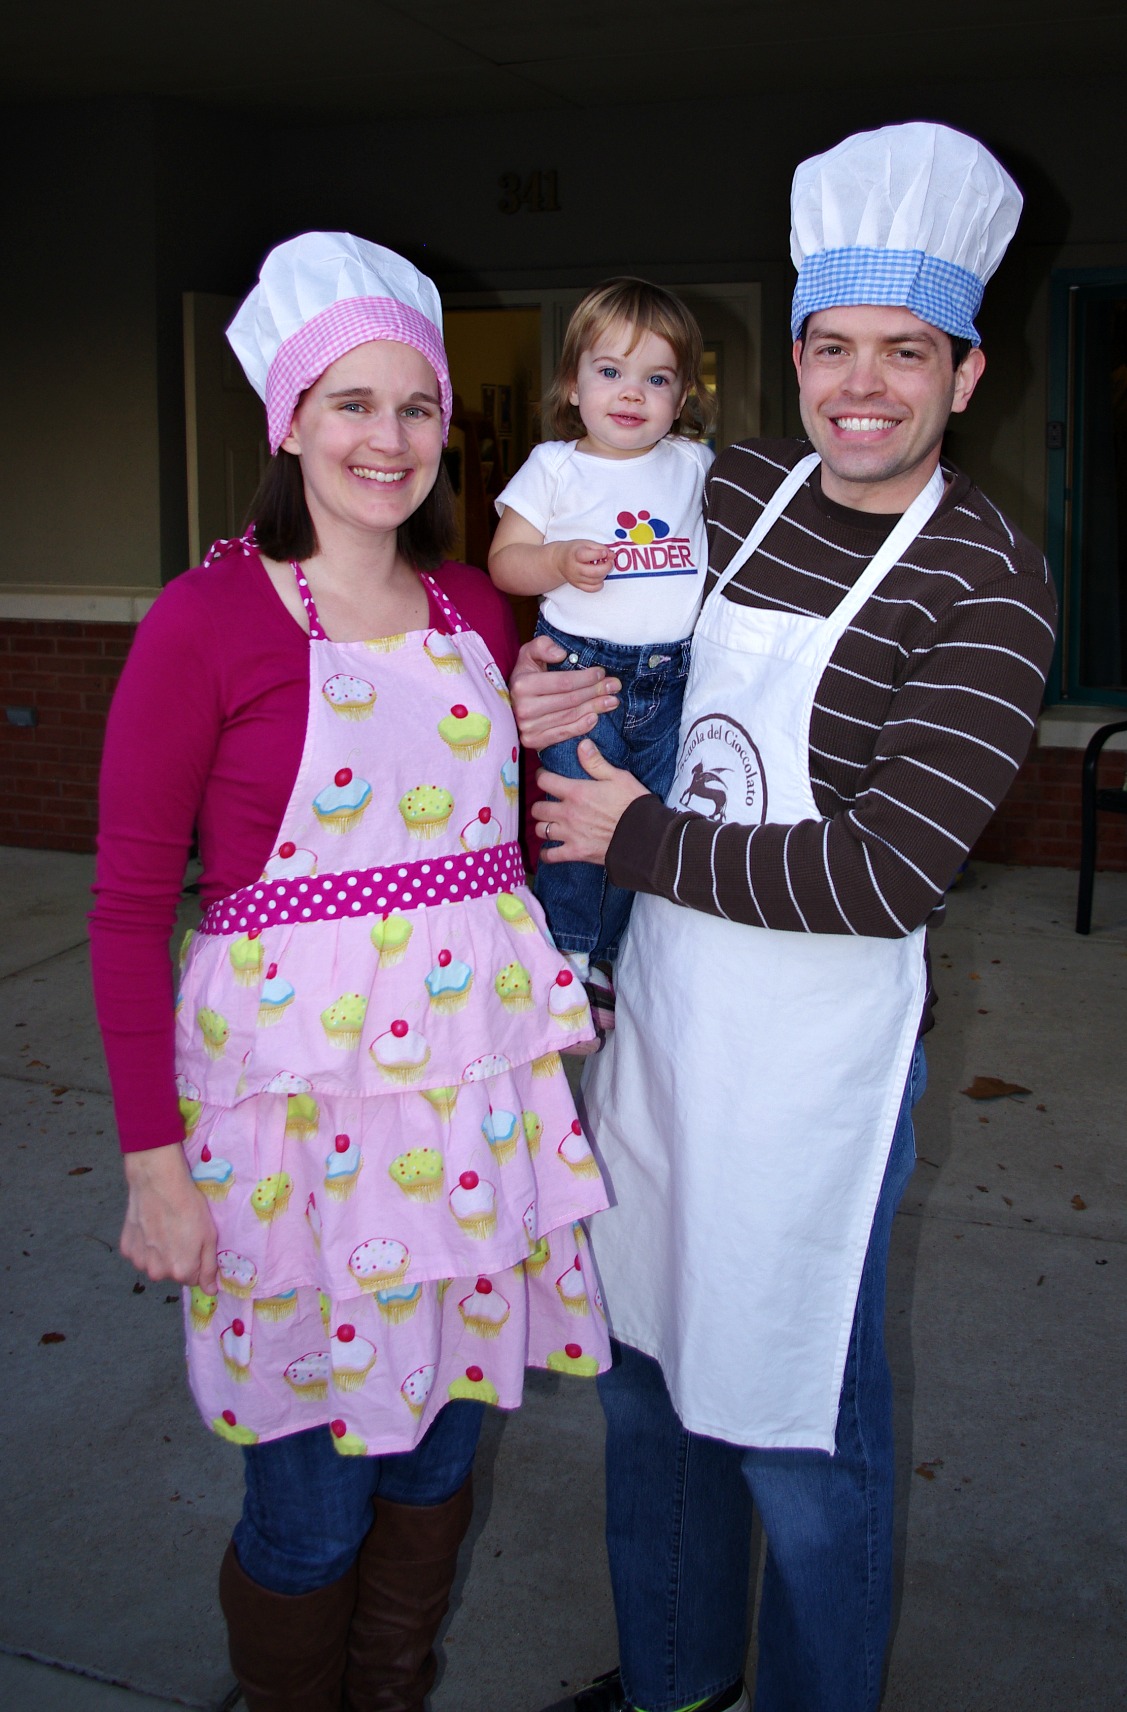
Actually, all of our costumes were pretty simple to make. All we used for the baker costumes were chef hats and aprons. We already owned the aprons, so we only had to buy chef hats. I ended up finding some at the dollar store. At first I was looking for plain white hats, but the only two options at the dollar store were pink and blue. They turned out to be the perfect colors to go with our theme!
To make Julia’s Wonder bread costume, I simply ironed a WONDER bread logo onto a white onesie.
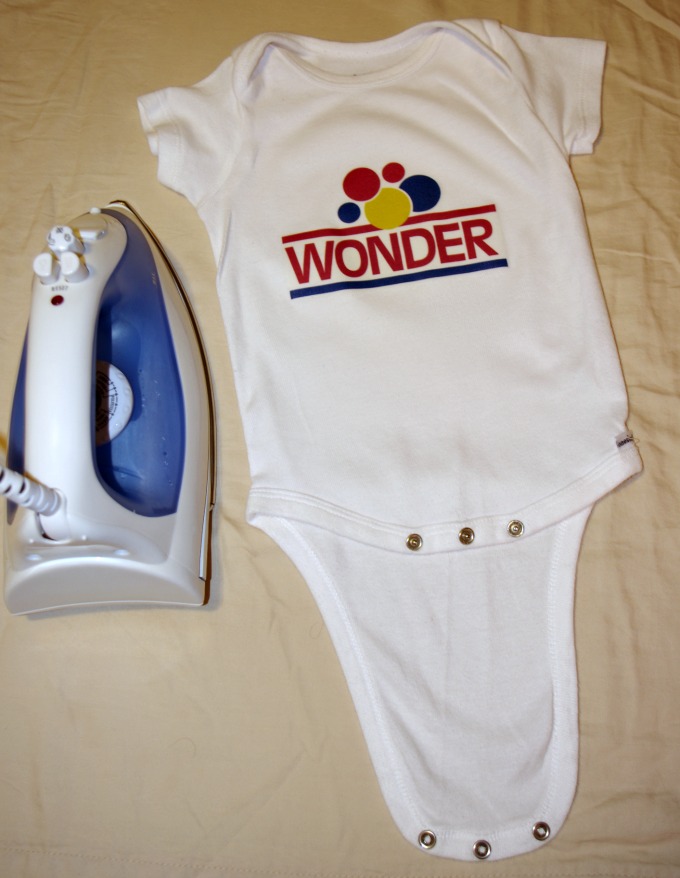
To do this, I used Avery fabric transfer paper. I followed the instructions that came with the transfer paper. In case you have never used iron on transfer paper, I summarized the steps below.
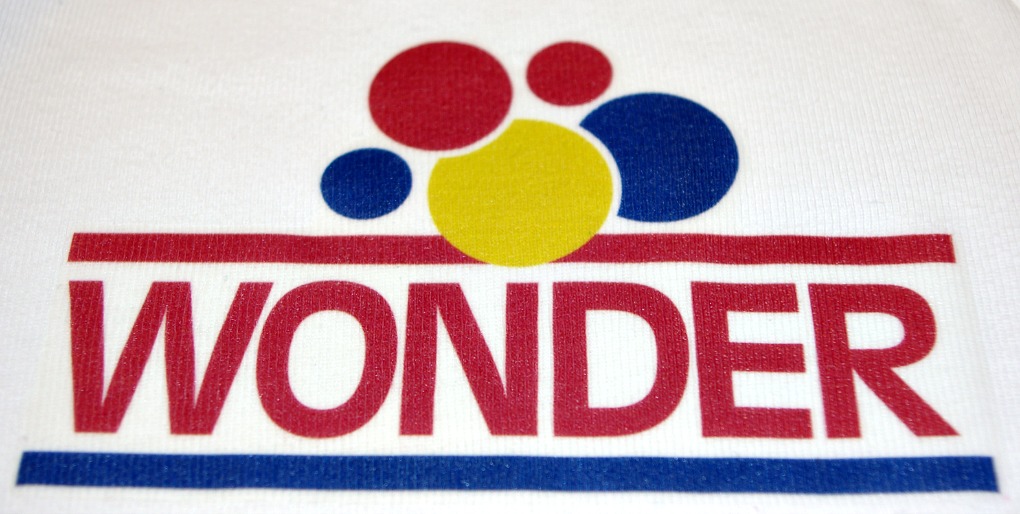
First, make your design. You can create any design that you want. I searched google images for “Wonder Bread” and easily found the WONDER bread logo and saved it as a picture to my computer.
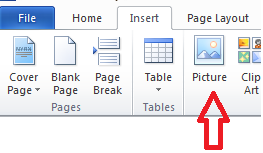
Next, flip the image. This step can be a a little tricky, but it’s not too bad. The reason you have to flip the image is so that it shows up correctly when you iron it on the onesie. I used Microsoft Word to do this. First, I opened up a blank Word document. Then from the Ribbon at the top, I selected “Insert” and then “Picture”.
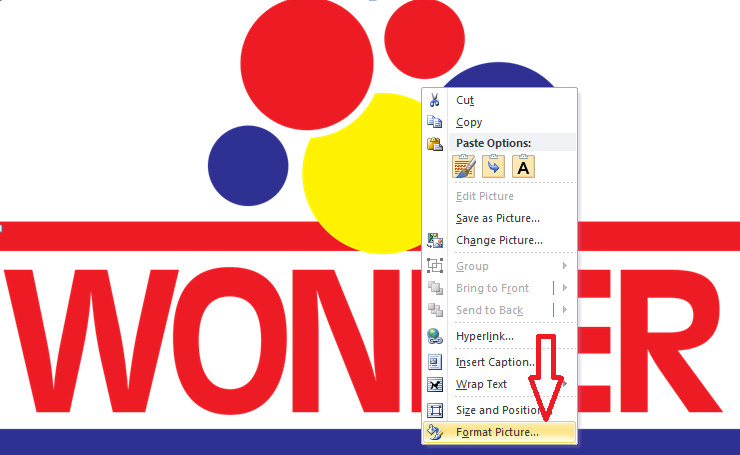
Then I just opened up the folder where the picture was saved and inserted the picture. Once the WONDER bread image appeared, I reversed it by right-clicking on the picture and selecting “Format Picture”.
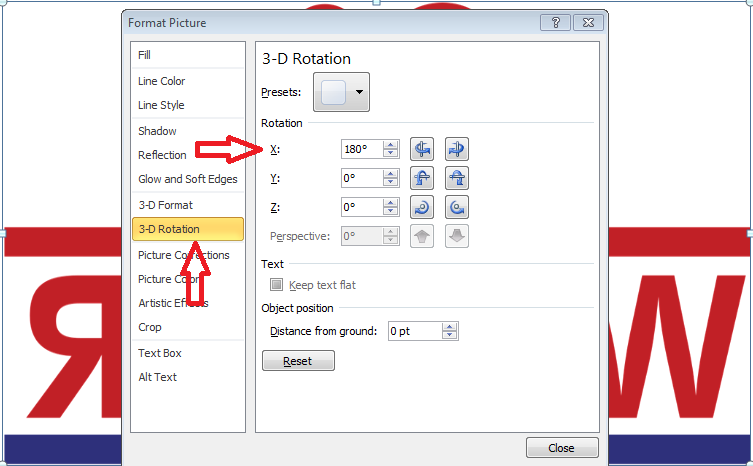
Then I selected the “3-D Rotation” tab and typed in 180 where it said “X” because I wanted to rotate the picture by 180 degrees. You can see below that the image is now flipped.
After that, print your image out by using an ink jet printer. Then trim closely around the edges of your image. This step is important because you don’t want to have a large border showing up around your picture.
The last step is to iron on the image. The ironing times vary by the size of the image, so just make sure to follow the included instructions.
That’s it! After the onesie is cool, peel the paper off and admire your work!

Have you ever used iron on transfer paper? Let me know what you made in the comments.
Have a great day!
♥Jena♥
This post contains affiliate links. For more information, see my disclosures here.