We recently had a Minnie Mouse birthday party for our daughter. She LOVES Minnie Mouse! Our guests were greeted with some Minnie Mouse decorations on the front door.
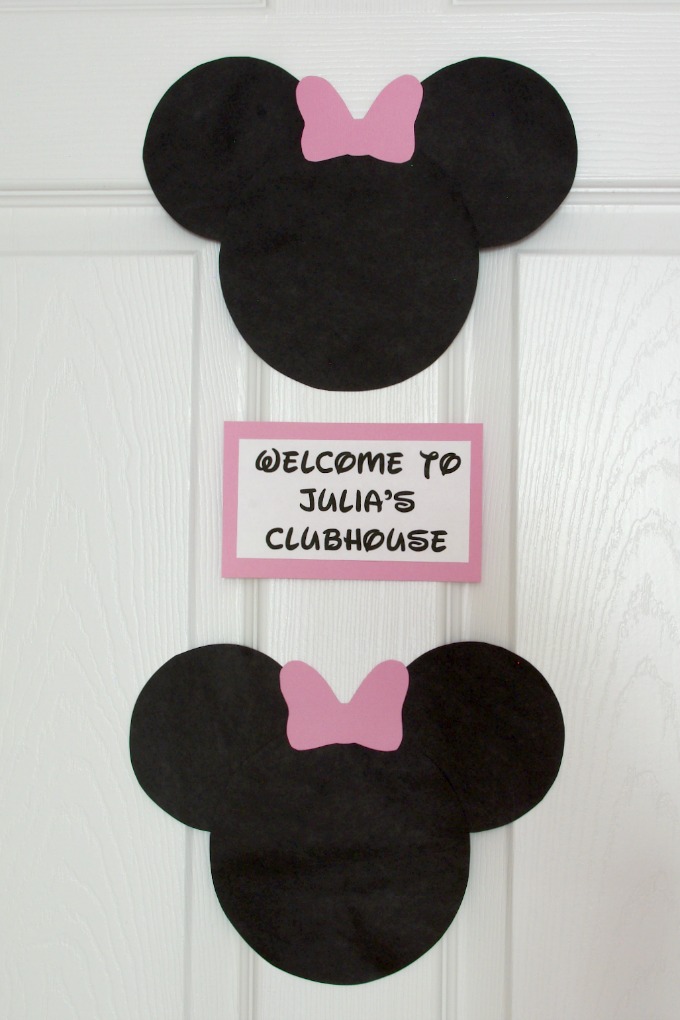
Today I am going to talk about how I made the Minnie Mouse decorations for the front door.
The front door decorations included 2 Minnie Mouse silhouettes with pink bows
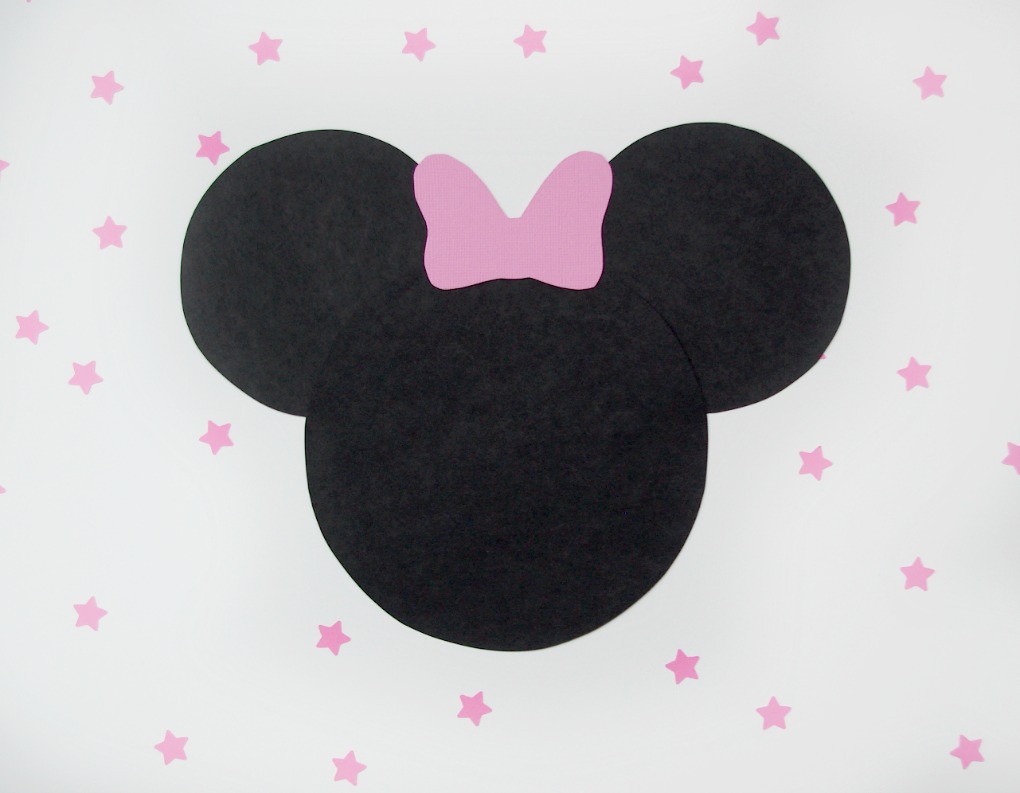
and a “WELCOME TO JULIA’S CLUBHOUSE” sign.
Minnie Mouse Silhouettes
To make the Minnie Mouse silhouettes, I used some supplies I had around the house.
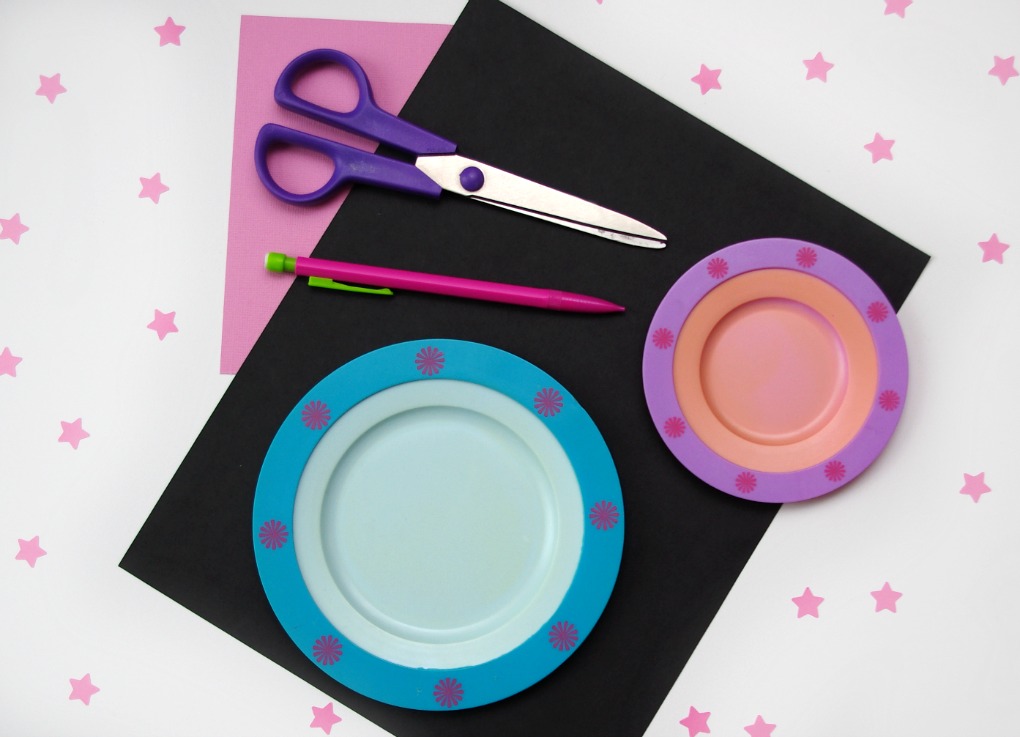
My supplies included:
- Black Cardstock (For Face and Ears)
- Pink Cardstock (For Bow)
- Large Round Object (Mine Was Approximately 6 Inches In Diameter)
- Small Round Object (Mine Was Approximately 4 Inches In Diameter)
- Pencil
- Scissors
- Minnie Mouse Bow Template (Found On Google Images)
- Tape
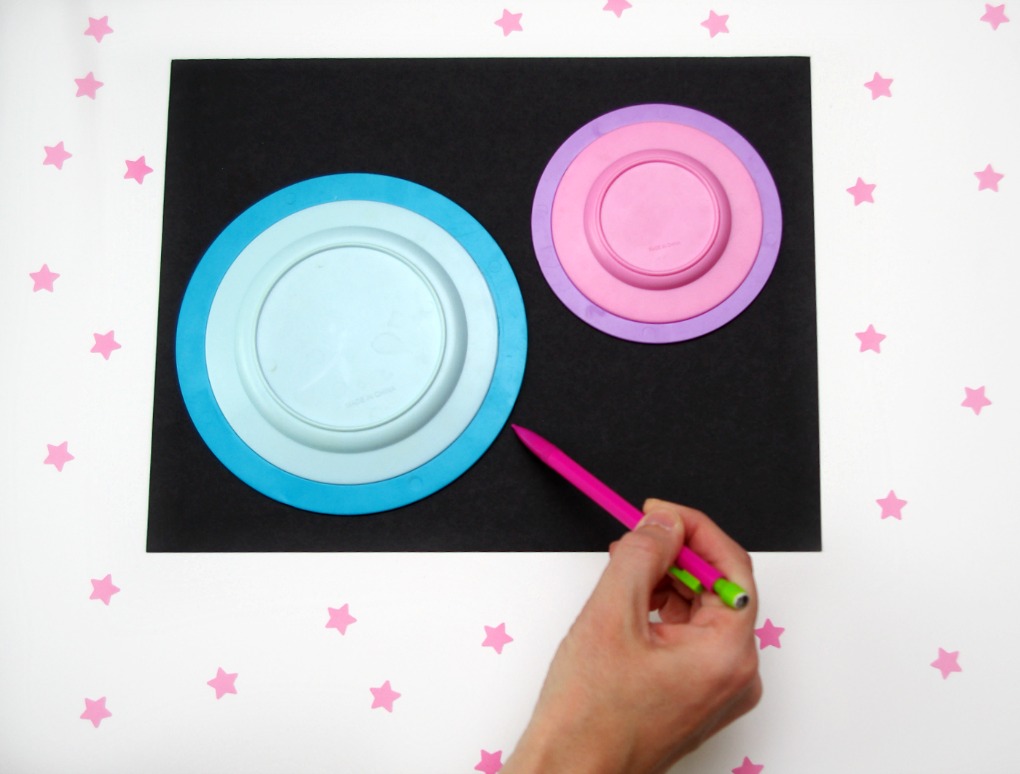
Below are the steps I used to make a Minnie Mouse silhouette. I followed these steps twice because I made two Minnie Mouse silhouettes.
-Using the large round object as a guide, I traced a circle on the black cardstock and cut it out. This circle was for the face. I used a plate from my daughter’s play kitchen, but you can use whatever you can find around the house!
-Then, using the small round object, I traced two circles on the black cardstock and cut them out. These circles were for the ears. I used a slightly smaller plate from the same play kitchen set.
-I arranged the two small black circles on the large black circle in a way that looked like Minnie’s silhouette. When I got the look I wanted, I taped the three circles together. I taped mine together so that the large circle is in front of the smaller circles.
-Next, I copied a Minnie Mouse bow image from Google Images and pasted it into Microsoft Word so I would be able to change the size. Since I wasn’t sure exactly what size would look good, I made several copies of the bow. Then I changed the size of each one so that I had a range of sizes from small to large. When I had one full page, I printed it out.
-Then I held the sheet of printed bow images up next to the Minnie Mouse silhouette to see which size I liked the best. After choosing a bow that I liked, I cut it out to use it as a template.
-Then I traced the bow template onto the pink cardstock and cut the pink bow out.
-All that was left to do was tape the bow onto the Minnie Mouse silhouette and I was done!
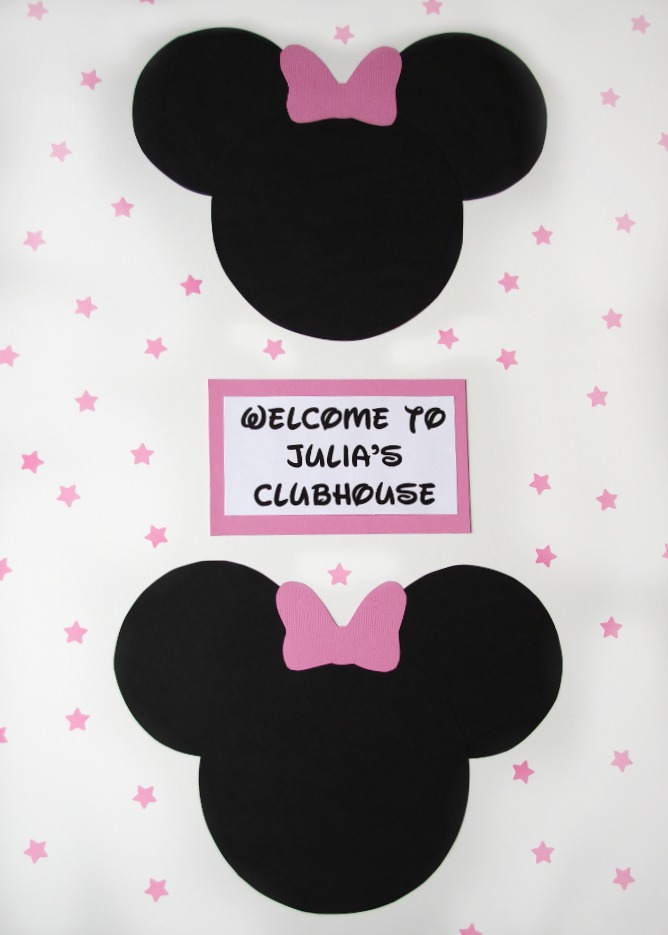
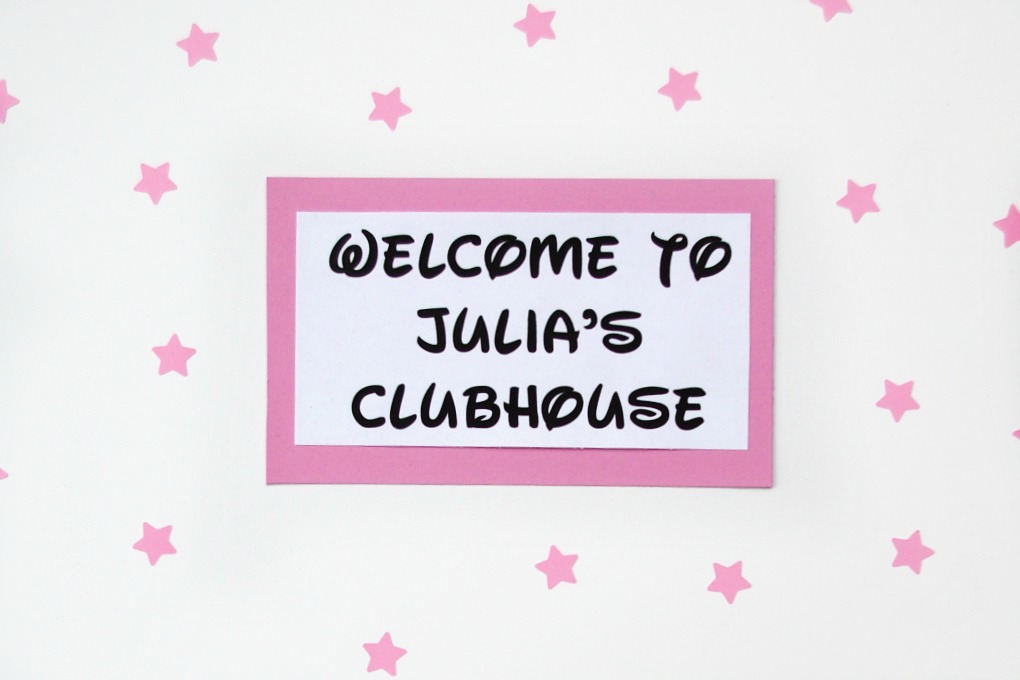
WELCOME TO JULIA’S CLUBHOUSE
To make the “WELCOME TO JULIA’S CLUBHOUSE” sign, I began by adding a font to Microsoft Word that looked like a Disney font. The font I used is called “Waltograph UI”.
Then I just printed out the “WELCOME TO JULIA’S CLUBHOUSE” words and added a pink cardstock border around it. I used the same color cardstock as I used for the bows.

On the day of the party, I taped all of these decorations to the door!
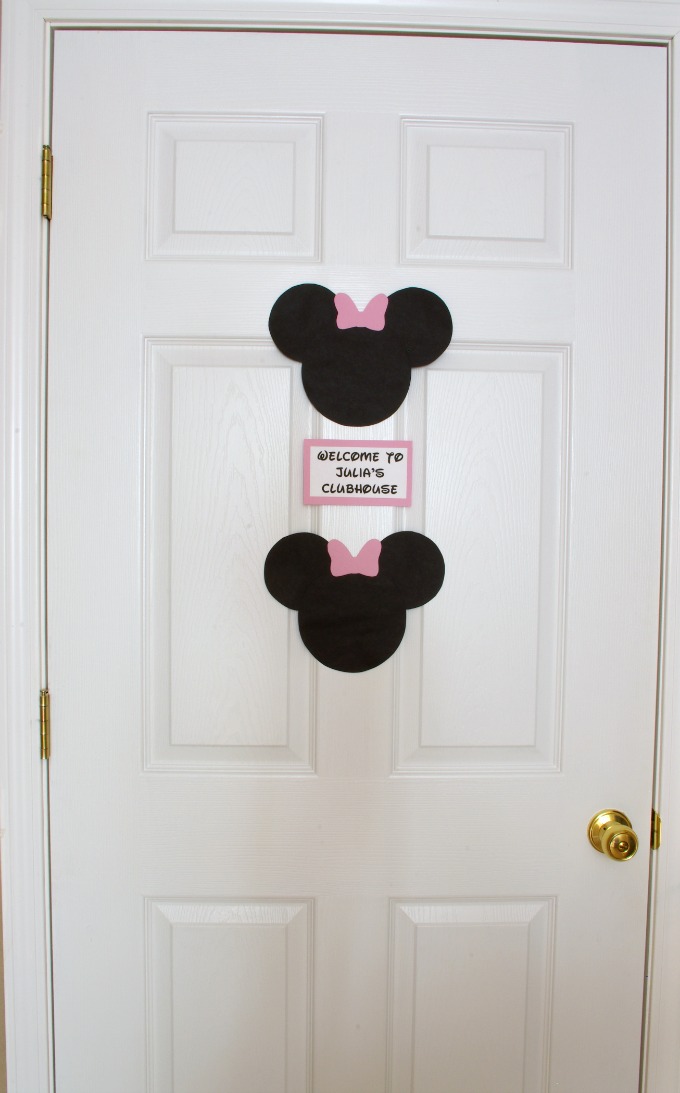
Disclaimer: The above photo is not actually our front door. I am just using this door for demonstration purposes. It was hard to take a picture of our actual front door because of the reflections from the glass.
Have you had a Minnie Mouse party? Did you make any Minnie Mouse decorations? Let me know what you did in the comments!
Have a great day!
♥Jena♥