Today is reveal day for Julia’s nursery!! I have already shared some projects that we did in Julia’s room, but today you get to see how the pink and turquoise nursery all came together.
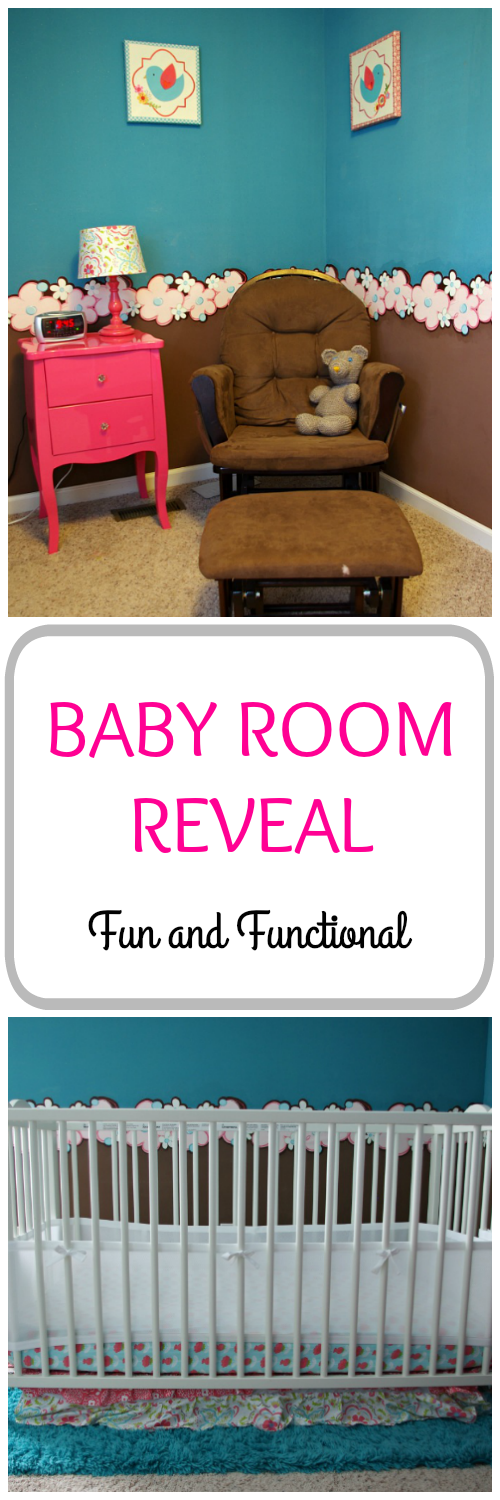
The previous owners of our house had a boy and a girl. Each child had their own room and we love how they decorated. The boy room has a sports theme and the girl room has a lot of pink and turquoise. My husband and I decided to leave the rooms alone until we had kids.
About three year later, we found out we were having a baby girl. It was time to get the pink and turquoise room baby-ready!
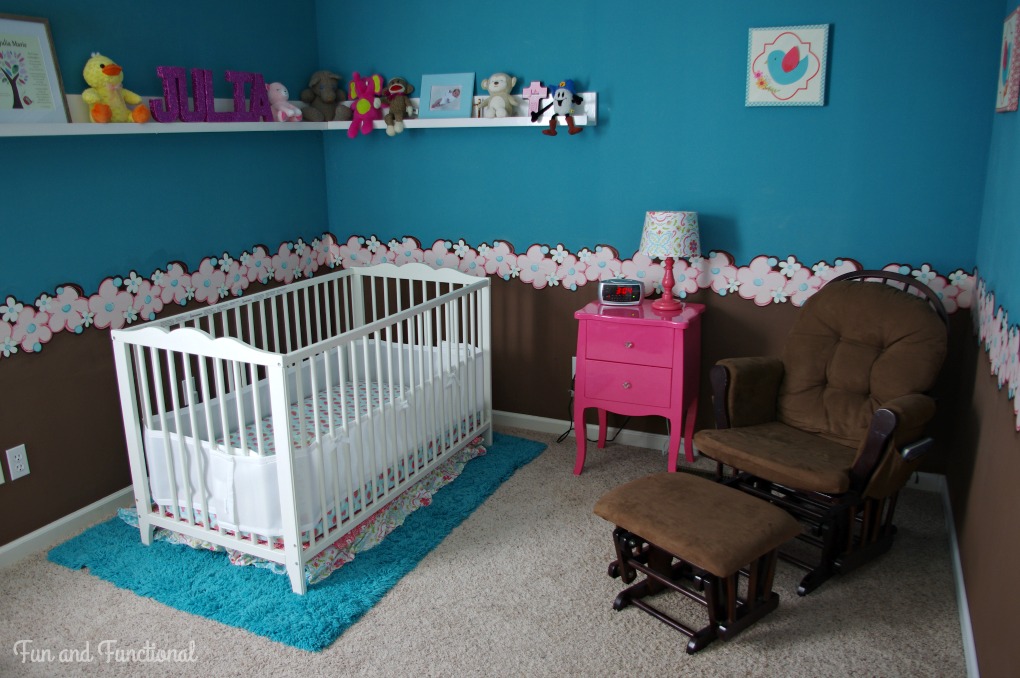
The top of the walls are turquoise with sparkles and the bottom of the walls are brown. These colors are separated with a pink and turquoise flower border.
The first thing we did was remove the lofted bed from the wall. This left us with a bunch of holes and a mismatching wall color. To solve that problem, we installed ledge shelves where the lofted bed had been. They covered up the holes perfectly.
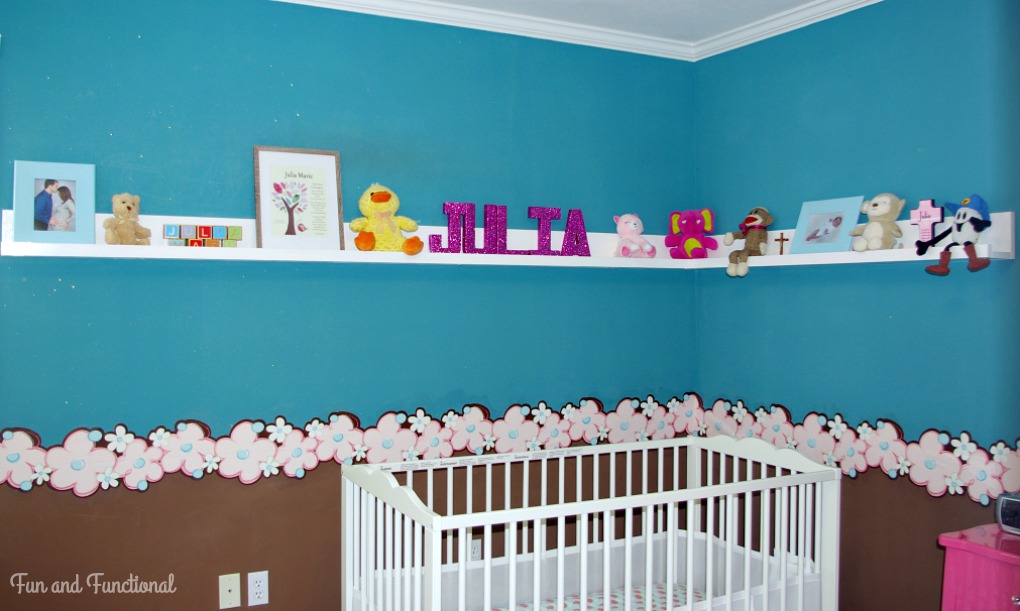
We modified Ana White’s ten dollar ledge shelf plans to make them work with the corner of the room. You can read about what we did here.
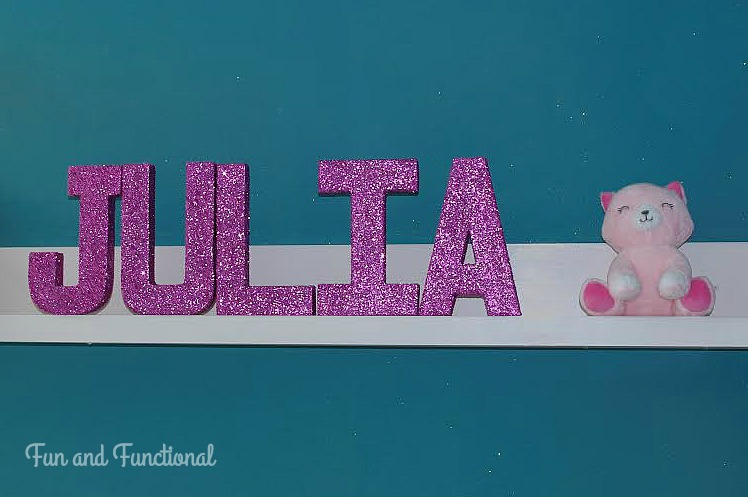
Then we decorated the shelves with some stuffed animals, toys, pictures, and the pink glitter JULIA letters we made.
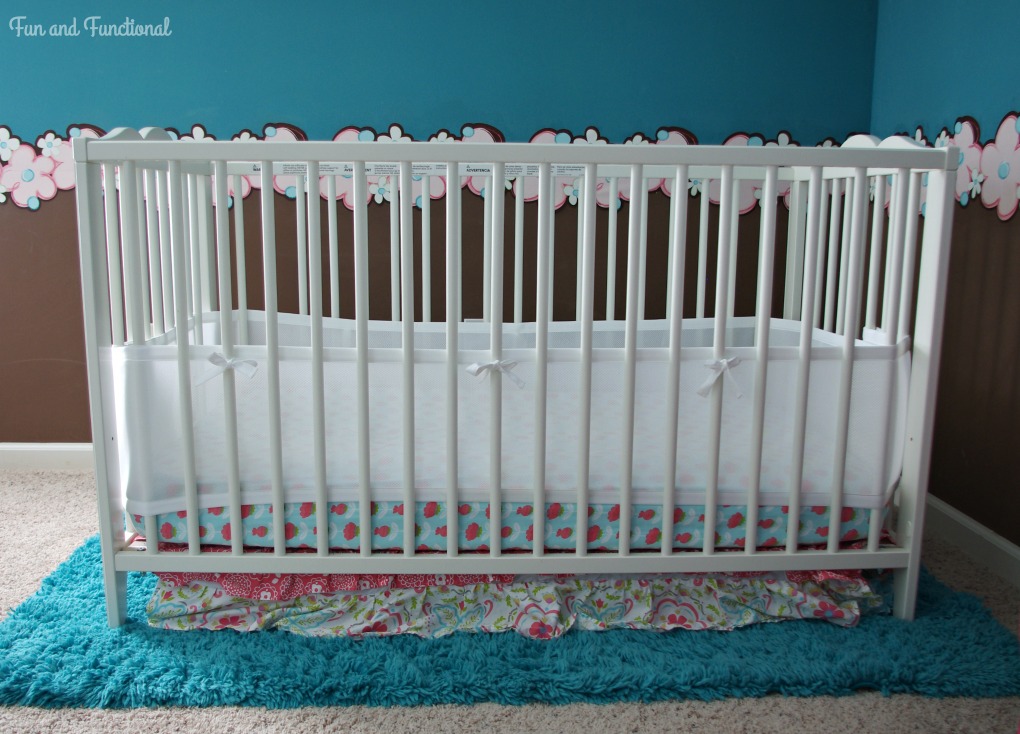
The crib and changing table are part of the Hensvik series from IKEA. The crib will eventually convert to a toddler bed.
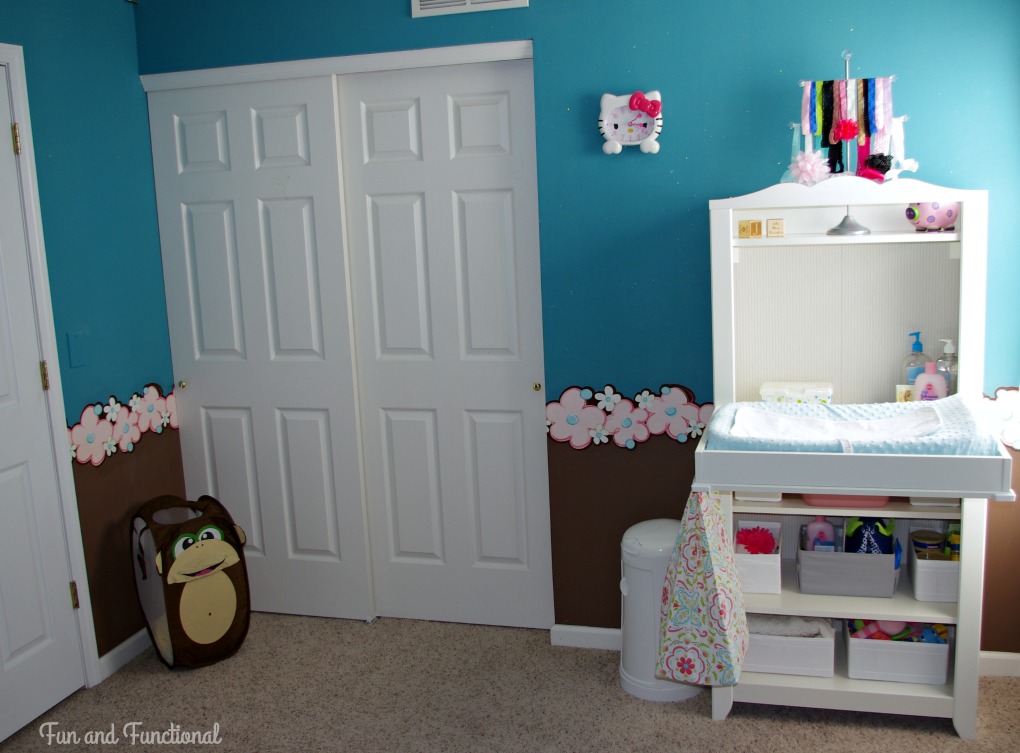
When Julia is done wearing diapers, we can easily remove the changing table piece from the cabinet. Then it can be used as a bookshelf. I love that idea because it saved us from buying a separate changing table.
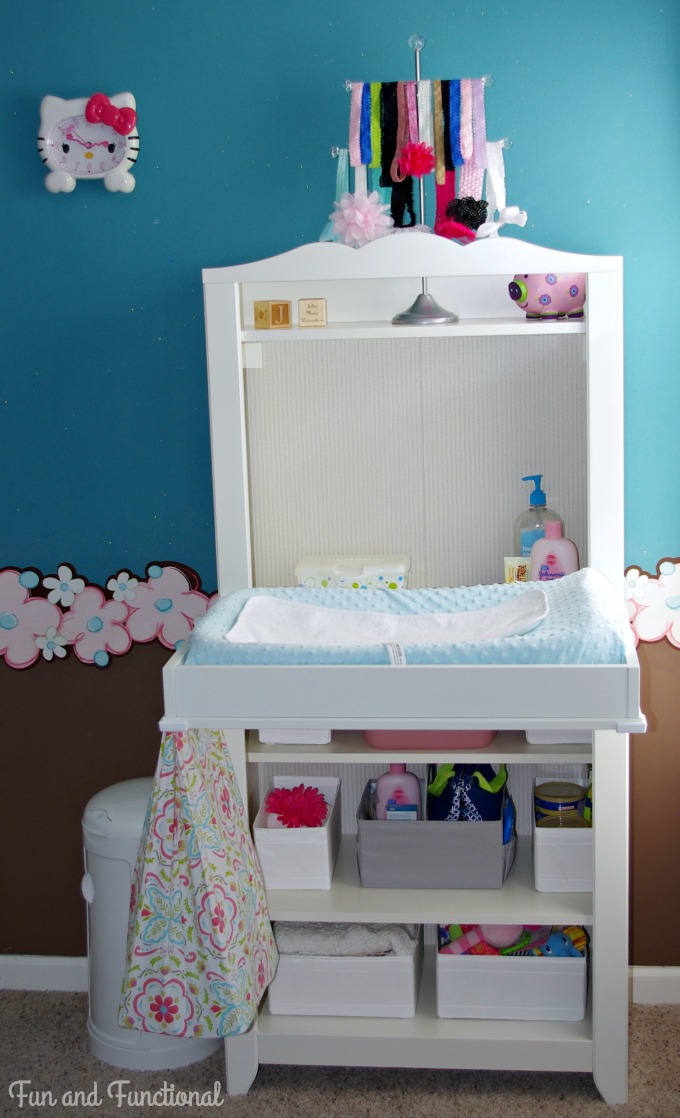
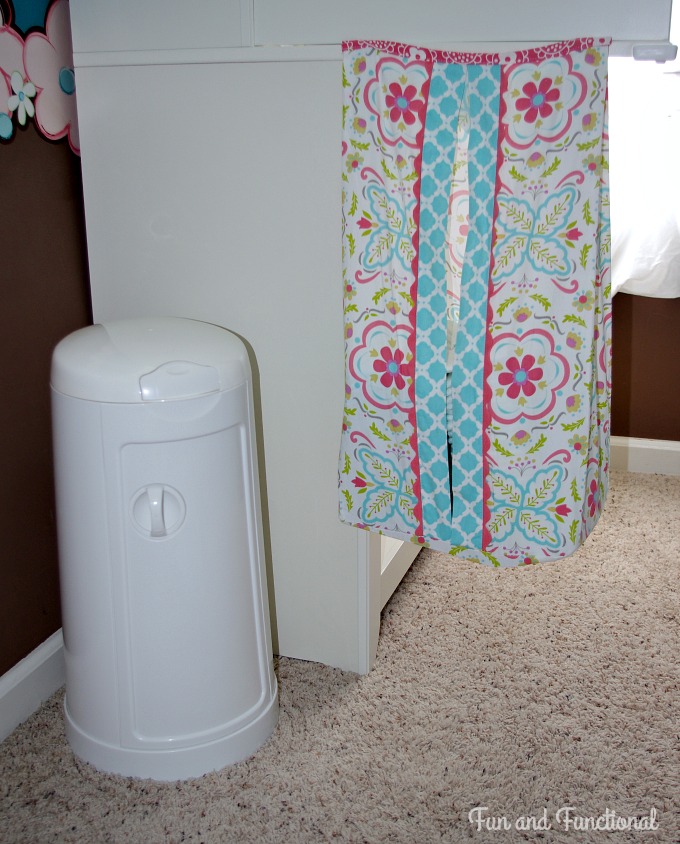
We were able to put the diaper stacker straps between the edge and base of the changing table shelf to hang it. The straps were then hidden under the turquoise diaper pad. This keeps the diapers easy to reach when changing diapers.
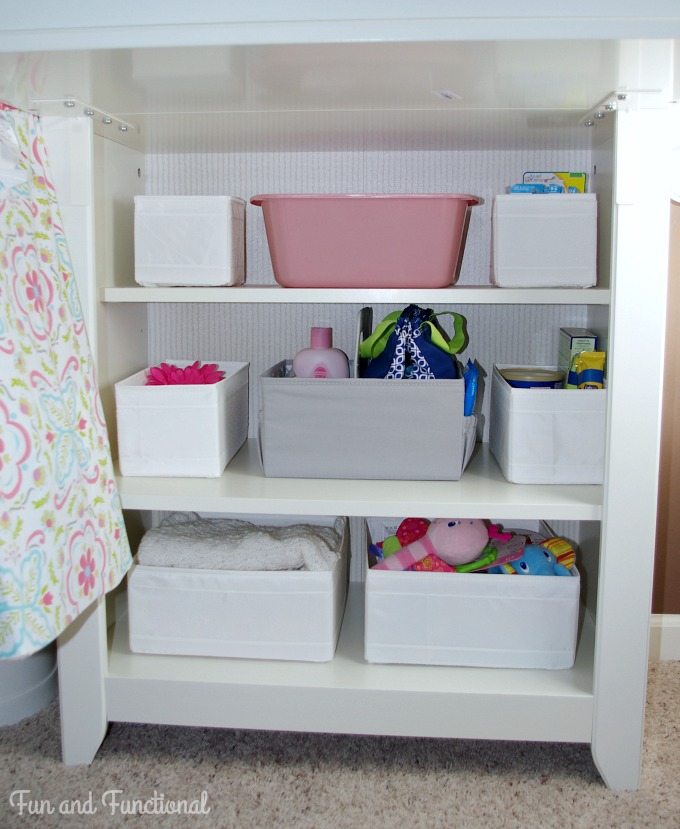
We used organizers from IKEA to hold some of the essential baby items. We swap the items in the organizers as Julia’s needs change.
We ordered the glider chair and ottoman from Amazon because we couldn’t beat the price anywhere else. It is the Stork Craft Hoop Glider and Ottoman. The color we chose was “Chocolate”, and not just because I love to eat chocolate. I think it looks good in the room and it will work for a little boy’s room if we ever need that in the future. There are different color options, so this chair could work with a lot of different room themes. We have been using the glider and ottoman for over a year so far and it has held up really well.
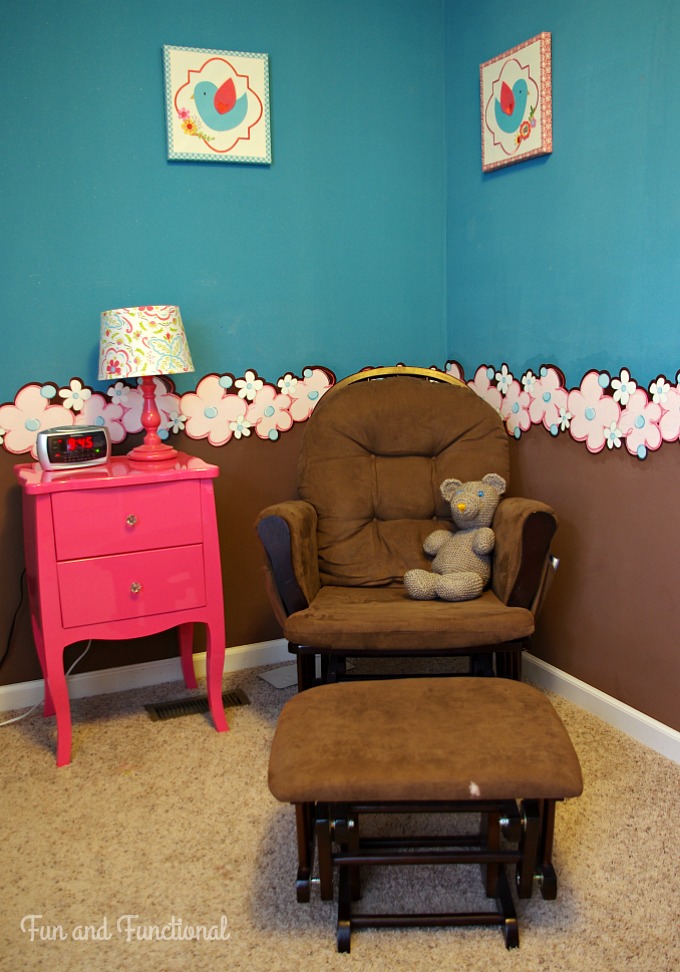
The pink nightstand in the picture above is from Hobby Lobby. It caught my eye when I was walking around looking for supplies for another project. I love the bright pink color because it brings out the pink in the flower room border.
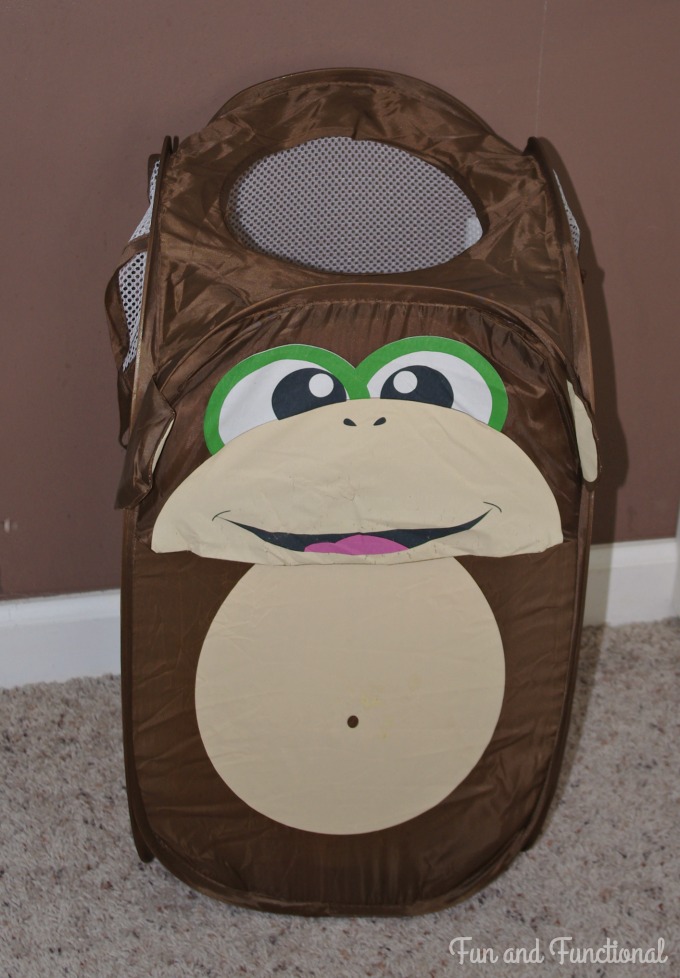
Julia’s dirty clothes go into her monkey hamper. She loves to play with it while we are doing laundry.
There are two sets of plastic drawers in the closet that we use to store Julia’s clothes. We also hang some shirts and dresses, but we need the drawers because there isn’t enough hanging space for all of her clothes.
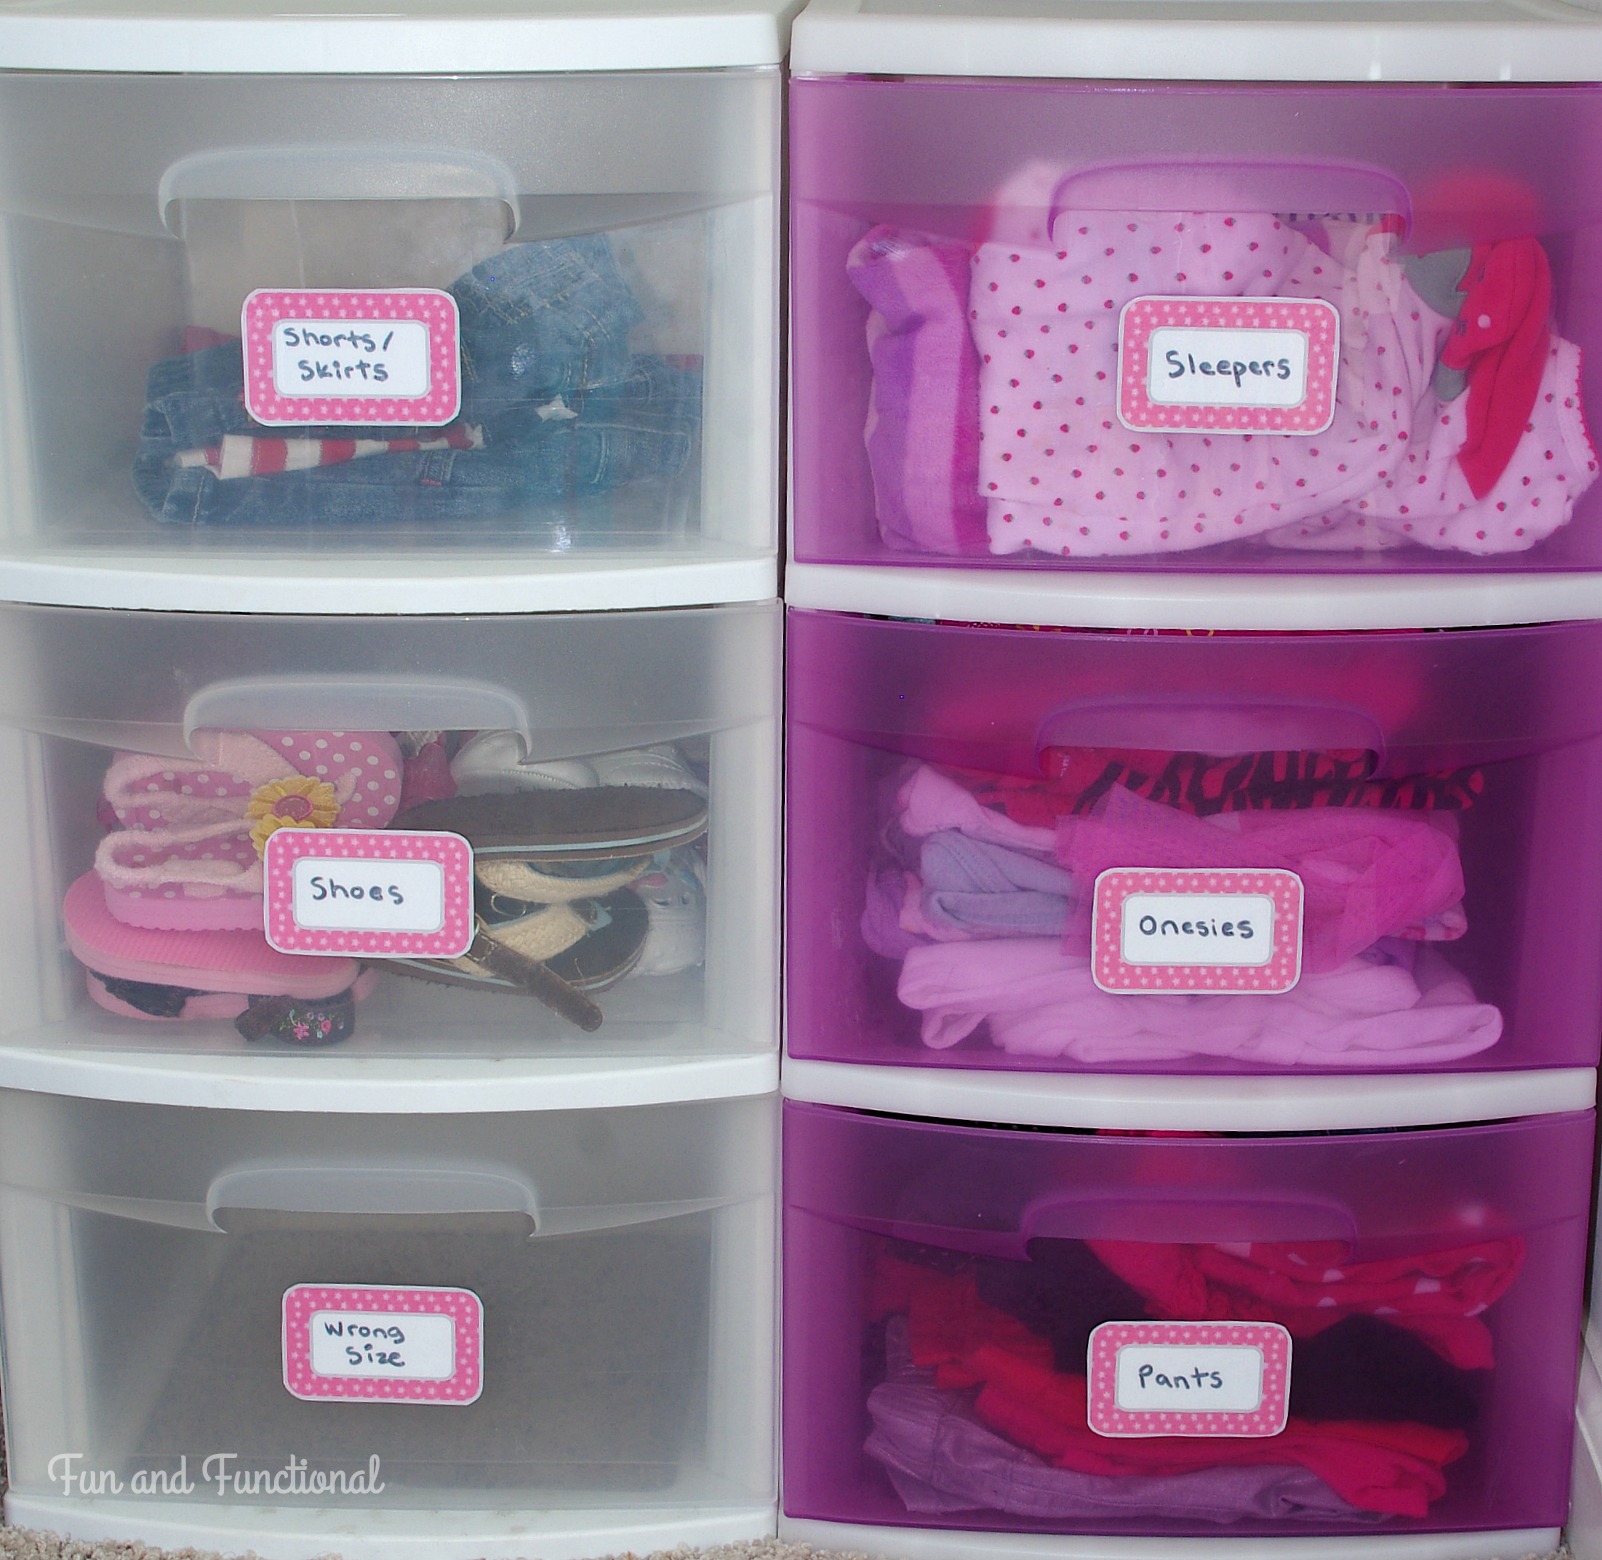
I shared more details about how we organize Julia’s clothes here. Don’t forget to print out the free labels on that page if you want them!
And here are some more pictures of the room.
If you want to know where any of the accessories in the room came from, check out the list below.
Bird Wall Art – Babies R Us (Peanut Shell Mila Theme)
Lamp – Babies R Us (Peanut Shell Mila Theme)
Nightstand – Hobby Lobby
Glider Chair and Ottoman – Amazon
Crib – IKEA (Hensvik Series)
Bedding – Babies R Us (Peanut Shell Mila Theme)
Turquoise Rug – Target
JULIA Letters – DIY Project
Cabinet with Changing Table – IKEA (Hensvik Series)
Changing Pad and Cover – Babies R Us
White Organizers – IKEA
Grey Organizer – Target
Diaper Stacker – Babies R Us (Peanut Shell Mila Theme)
Diaper Pail – Babies R Us
Clothing Drawer Labels – DIY Project
What do you think of the room? Do you have any tips for organizing a nursery?
Have a great day!
♥Jena♥
This post contains affiliate links. For more information, see my disclosures here.